I've seen this Rasam made in almost all the families from Kongunaadu. The people from Kongunaadu were mainly landlords and farmers (in Coimbatore, Salem, Erode and around areas). These days, like any other community, they have branched into other occupations and businesses as well. Since these people have a strong rural connection, many of their recipes are like a typical rural cuisine - the importance is given for health and taste. Some of the typical Kongunaatu recipes are 'Kozhi rasam and Varuval', a dessert called 'Vazhai', 'Kadaa Paniayaram' (a sweet dish that looks like adirasam with a hole, but is prepared in a different way), etc... The above are the only ones I know remember now, I've to ask Mom for more typical KonguNaatu recipes. I'm sure there are more.
Here's one recipe that I've grown up, with. Anytime somebody catches a cold in the house, my mother makes this Kozhi Rasam. It's very spicy and hot and most often, the cold says 'Bye-bye' the very next day. Me and my sister used to make a big fuss about eating this spicy dish, when we were kids. But over the time, we've grown to LOVE it. Every time we miss mom and home, we make one of her special dishes and when we have it, we always feel 'at-home', if you know what I mean. I know, a few other cuisines from Tamilnadu, also make Chicken rasam and varuval, but the flavors are different from this one. I wanted to write about this when Indira asked me to blog about Cold-Remedies. I didn't have much time to prepare this dish, at that time. So, here's it is now, when I'm craving for mom's food.
Kongunaatu Kozhi Rasam
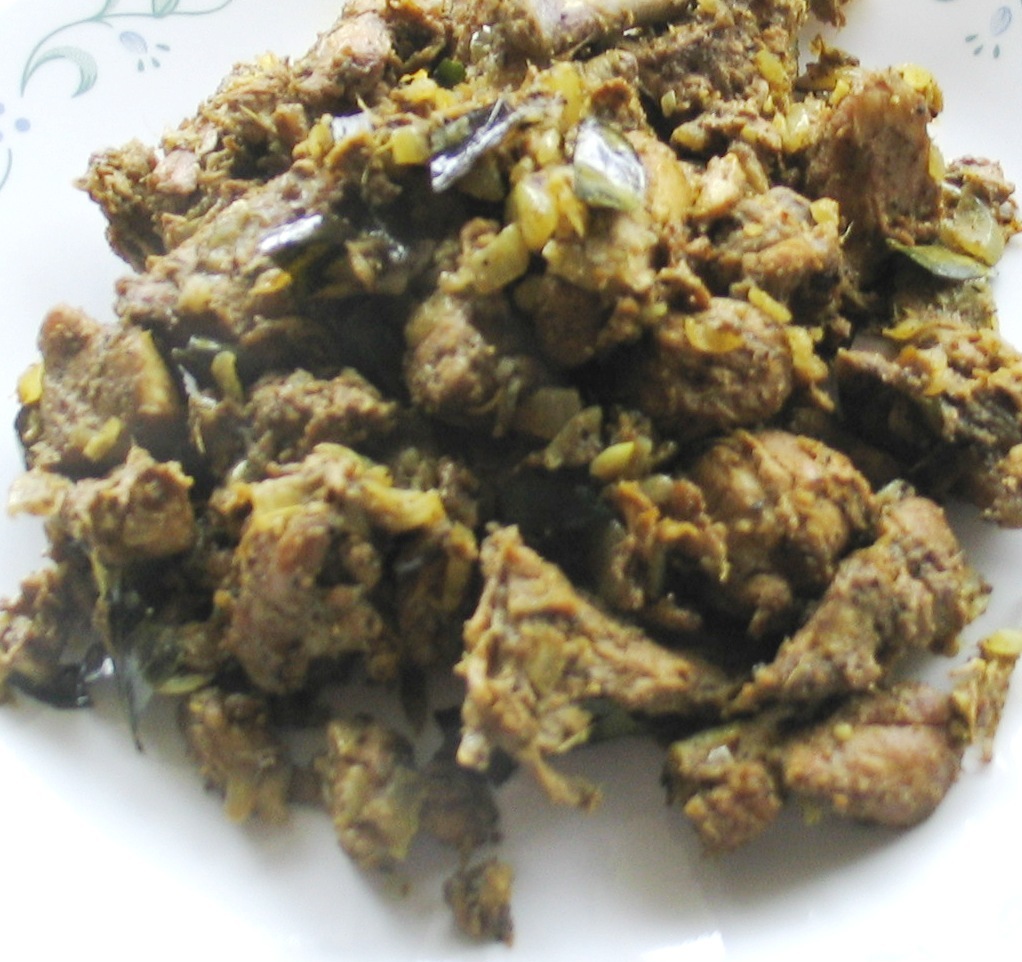
 Kari varuval

Ingredients
Cinnamon - 2
Cloves - 2
Poppy seeds - 1 tsp
Saunf / Fennel seeds - 1 tsp
Cummin seeds - 1 tsp
Pepper - 1 tbsp
Coriander seeds - 1/2 to 3/4 cup (Yep!) or 3-4 tbsp Coriander powder
Dry red chillies - 2
Curry leaves - 2-3 sprigs, just the leaves
Small pearl onions - 8-10
Sesame oil - 1 tbsp (I forego olive oil, for sesame oil, for authentic dishes that need typical flavors) + 1 tbsp + 1 tbsp
Chicken - 2 pounds (We used organic chicken. Use a small chicken with bones. Boneless stuff wouldn't give the rasam, it's taste or flavor or the medicinal property needed to fight cold)
Heat 1 tbsp oil in a cast iron pan and and roast Cinnamon, Cloves, Fennel seeds, cummin seeds, Peppercorns, dry coriander seeds and Red chillies with the Curry leaves. Add the poppy seeds and roast for 2 more mins. If you are adding coriander powder instead of the seeds, now is the time to add that. Transfer this to the mixie/blender (Don't grind yet, let it cool down). In the same pan, wipe it with a paper towel and add one more tbsp oil and saute the pearl onions. Let it cool down and add to the mixie. Grind all these to a fine paste. Add water when necessary to make the paste, fine.
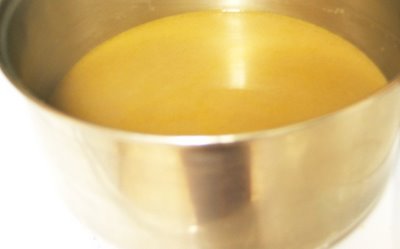
In a pressure cooker, heat oil and saute chicken for 10 mins till it the raw-smell leaves. Add the ground paste and five cups of water. Pressure cook upto two whistles. Use a soup strainer to filter the rasam and chicken and keep aside.
For the Rasam, add salt to the drained rasam/soup and keep it covered with a lid. You can call this a Kongu naatu chicken soup.
Varuval: Saute the chicken pieces in 1 tbsp oil, after saute'ing curry leaves, ginger garlic paste (2 tbsp), onions (1, finely chopped), little salt, freshly ground black pepper (1 tbsp), turmeric powder (1/4 tsp). Taste and add salt accordingly. Add 2 ladles full of rasam and let it get absorbed in the chicken while saute-ing. Adding the rasam, helps in blending the flavors of the spices with the chicken pieces and bring it all together. Unlike other chicken-frys, this one is very soft and goes very well with the above rasam. Alternatively, You can use green chillies or red chillies or ground black pepper or a combo of these to spice it up. Feel free to explore.
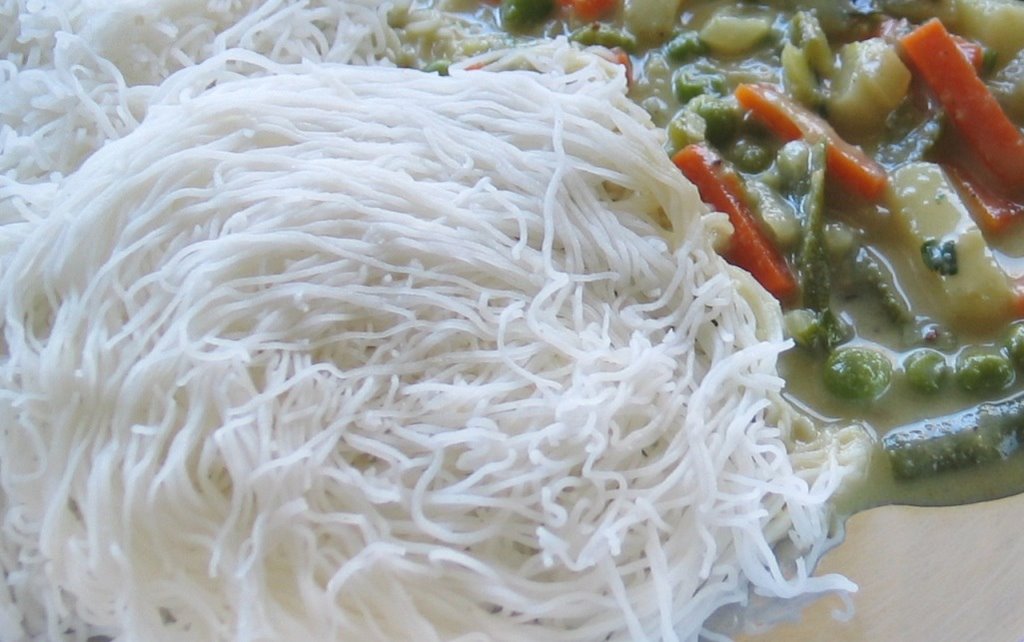
Serve these piping hot, with steamed rice. Yep, pour the rasam over hot, hot rice and enjoy it with the varuval. No fun eating it cold. Everything has to be piping hot! You'll work out a sweat!
My entry for this weekend's Tony's Currymela.